Setting up Azure Functions PowerShell local development environment with Visual Studio Code
For effective development of Azure Functions with PowerShell we need to install and configure few software’s to our development machine. In this post I will go through how to install and configure all necessary software’s and extensions needed to do basic Azure Functions development in Windows 10 machine.
PowerShell Core installation
To develop Azure Functions with PowerShell you need to install PowerShell Core which is in preview face in Azure Functions v2. You can download and install PowerShell Core from GitHub
Select Windows (x64) stable and save it to disk, and run installer..

Download .Net Core
1. Select “Download .Net Core SDK”
2. Save it to disk
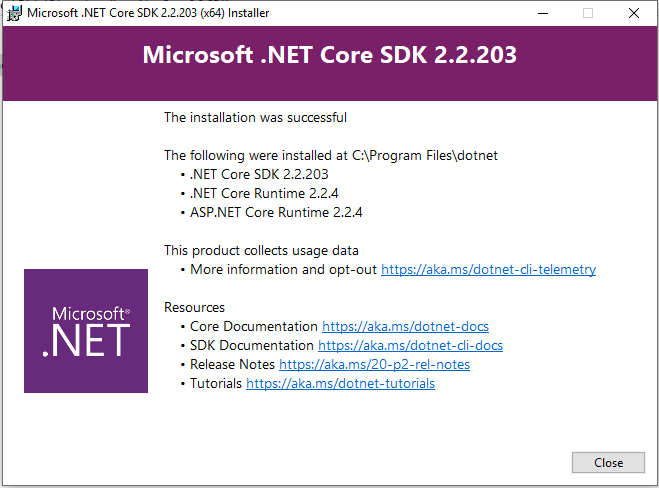
3. Run installer


Node.js and NPM
To debug and run Azure Functions with Visual Studio Code you need to install Node.JS and npm which is package manager for node.js
Node.Js and npm can downloaded here

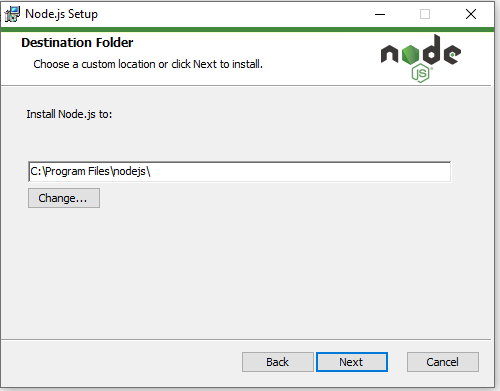
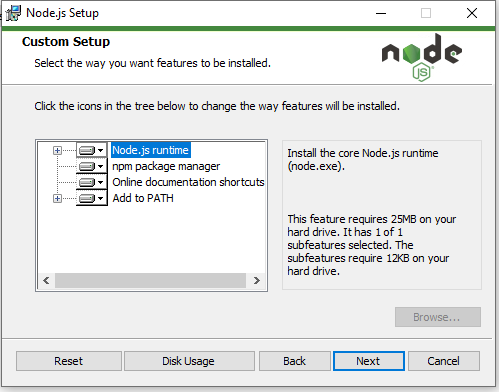
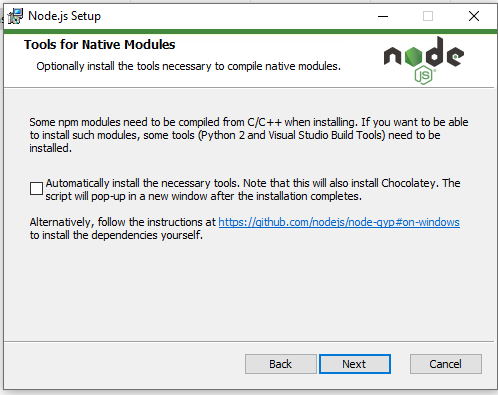
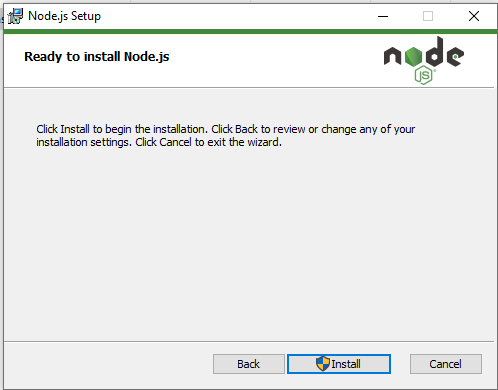
Download Node.js
1. Select current
2. Save installer to disk
3. Run installer


Visual Studio Code installation
Finally we are installing Visual Studio Code. Visual Studio Code can be downloaded here.

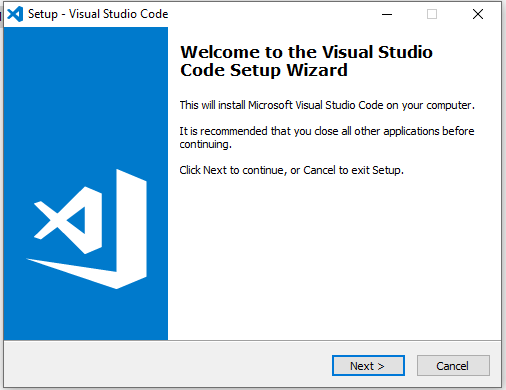
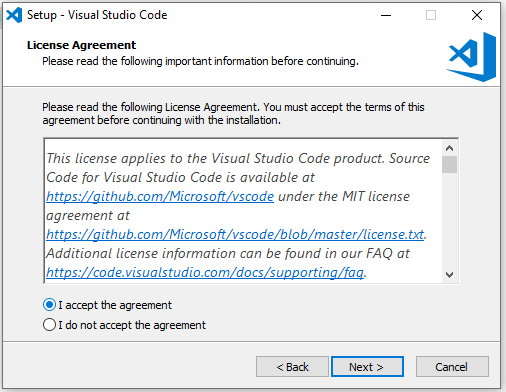
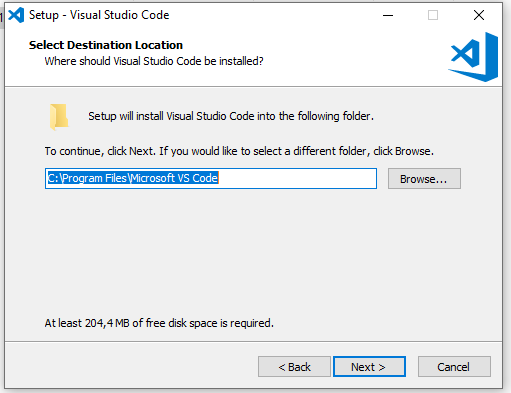
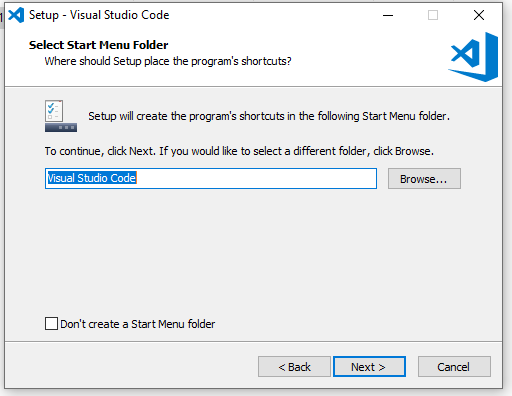
Download Visual studio Code
1. Select “Download for Windows”
2. Save it to disk
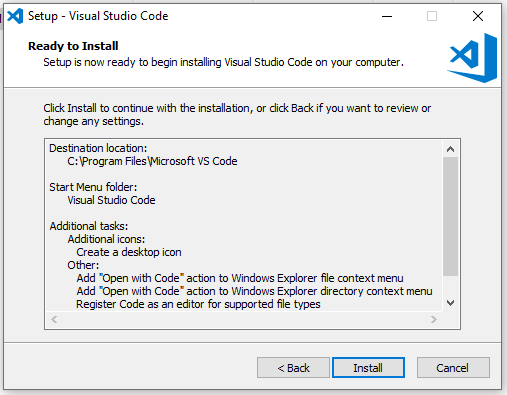
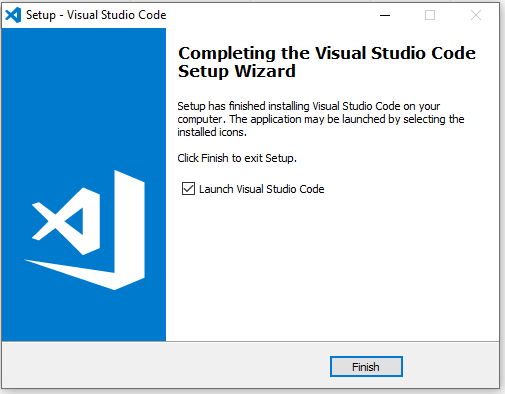
3. Run installer

Adding and configuring extensions in visual studio code
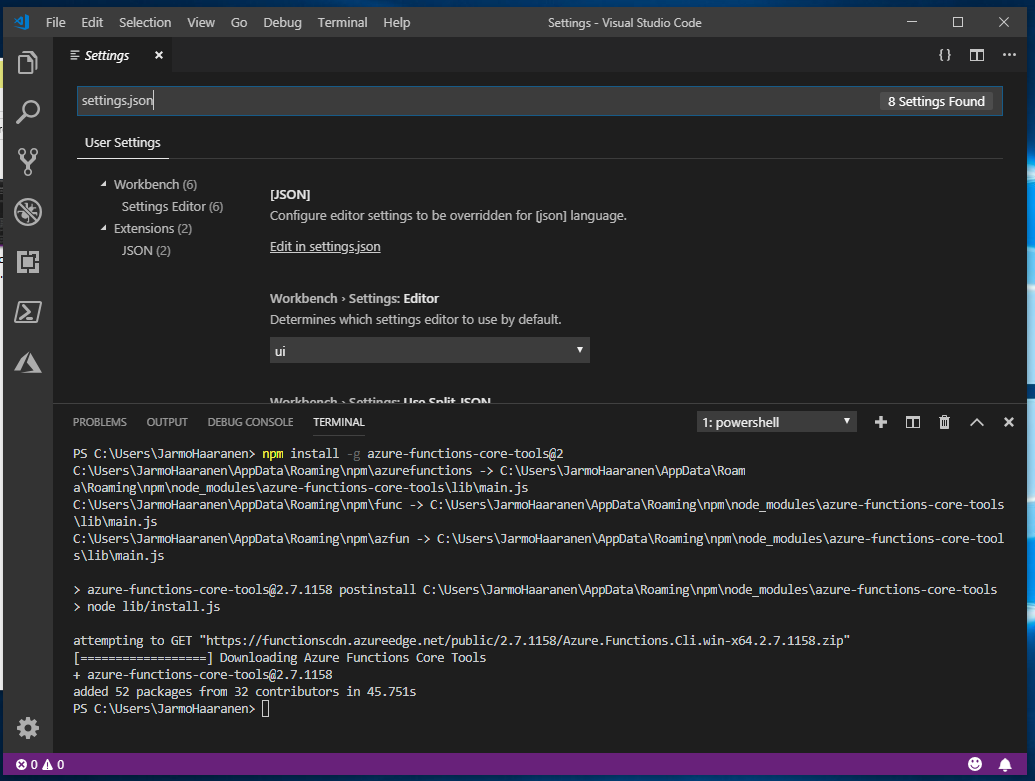
Azure Functions extension is used to create, test, and deploy functions to Azure. First we need install Azure Core Functions Tools, installation is done using npm “node package manager”

Open Terminal
Click terminal and then New terminal

run npm command
npm install -g azure-functions-core-tools@2

Open Extensions marketplace
Click “Wheel” on bottom of left corner
Select “Extensions”

Search PowerShell
Write “PowerShell” in to the marketplace
Select PowerShell
Click “Install”

Change Theme
By default PowerShell extension changes your theme to “ISE” look alike. You can change theme back to dark by selecting “Dark”

search Azure Functions
Write “Azure Function” in to the marketplace
Select Azure functions
Click “Install”

Configure extensions
Click “Wheel” on bottom of left corner
Select “Settings”
Open Settings
Type “settings.json” to search box
Select “Edit in settings.json”

Edit settings.json
Add following content between curly brackets
"azureFunctions.templateFilter": "All",
"azureFunctions.projectLanguage": "PowerShell",
"azureFunctions.projectRuntime": "~2",
"powershell.powerShellDefaultVersion": "6",
"powershell.powerShellExePath": "C:\\Program Files\\PowerShell\\6\\pwsh.exe",
"terminal.integrated.shell.windows": "C:\\Program Files\\PowerShell\\6\\pwsh.exe"
Now you have installed Visual Studio Code fo Azure Functions with PowerShell language support.
Thanks for reading